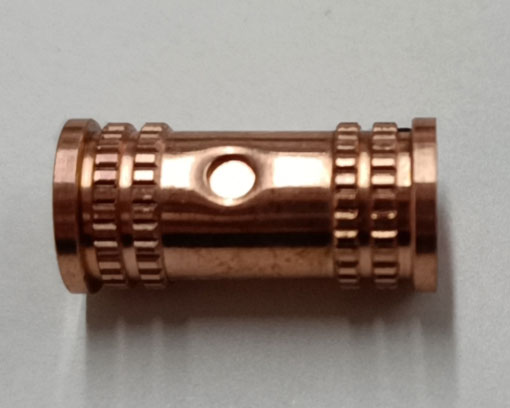
When it comes to installing a washing machine, ensuring that you have the right outlet box is essential. One popular choice among homeowners and professional installers is the Quadtro 2 Copper Sweat Washing Machine Outlet Box. This versatile and durable outlet box is designed to make your washing machine installation a breeze. In this comprehensive guide, we will walk you through the entire process of installing a Quadtro 2 Copper Sweat Washing Machine Outlet Box, ensuring that your new appliance is securely and safely connected. So, let's dive in and learn how to get your washing machine up and running in no time!
Step 1: Gather Your Tools and Materials
Before you begin, it's essential to have all the necessary tools and materials on hand. To install a Quadtro 2 Copper Sweat Washing Machine Outlet Box, you will need:
Quadtro 2 Copper Sweat Washing Machine Outlet Box
Pipe cutter or hacksaw
Copper pipe (if not included with outlet box)
Copper fittings (elbows, tees, etc.)
Copper sweat solder
Flux
Propane torch
Wire brush or sandpaper
Pipe wrench
Teflon tape
Level
Stud finder
Pencil
Drill with appropriate bits
Screws or nails
Hammer or screwdriver
Step 2: Determine the Location for the Outlet Box
The first step in the installation process is to determine the best location for your Quadtro 2 Copper Sweat Washing Machine Outlet Box. Ideally, you want to place the outlet box close to the washing machine's water supply lines and drain pipe. To find the perfect spot, use a stud finder to locate the wall studs in the area where you plan to install the outlet box. Mark the stud locations with a pencil, and use a level to draw a straight line between the marks.
Step 3: Cut and Prep the Copper Pipe
Next, measure the distance between the water supply lines and the outlet box's inlet connections. Cut the copper pipe to the appropriate length using a pipe cutter or hacksaw. Be sure to leave enough extra pipe to accommodate any necessary fittings, such as elbows or tees.
Once the pipe is cut, clean the ends of the pipe and any fittings with a wire brush or sandpaper to remove any dirt, grease, or oxidation. This will ensure a strong, leak-free connection when soldering the pipes and fittings together.
Step 4: Assemble and Solder the Copper Pipes and Fittings
Apply flux to the cleaned ends of the copper pipes and the inside of the copper fittings. Assemble the pipes and fittings, ensuring that they are fully seated and properly aligned. Use a propane torch to heat the joint until the flux begins to bubble. Touch the solder to the joint, allowing it to melt and flow into the joint. Remove the heat and allow the joint to cool and solidify.
Step 5: Install the Outlet Box and Connect the Pipes
With the pipes and fittings assembled, it's time to install the Quadtro 2 Copper Sweat Washing Machine Outlet Box. Position the outlet box on the wall, aligning it with the pencil marks you made earlier. Secure the outlet box to the wall studs using screws or nails.
Next, connect the copper pipes to the inlet connections on the outlet box. Use a pipe wrench to tighten the connections, ensuring a secure and leak-free seal. Wrap Teflon tape around the threads of the washing machine hoses and connect them to the outlet box's hose connections.
Step 6: Test for Leaks
Turn on the water supply to the washing machine and check for any leaks at the connections. If you find any leaks, turn off the water supply, tighten the connections, and test again.
Step 7: Connect the Washing Machine Drain Hose
Finally, connect the washing machine's drain hose to the outlet box's drain connection. Secure the hose with a hose clamp to ensure a tight seal.
Conclusion
Congratulations! You have successfully installed a Quadtro 2 Copper Sweat Washing Machine Outlet Box. With this durable and versatile outlet box in place, you can enjoy the convenience and efficiency of your new washing machine, knowing that it is securely and safely connected. Now, it's time to put your new appliance to work and enjoy the benefits of a well-installed washing machine!


