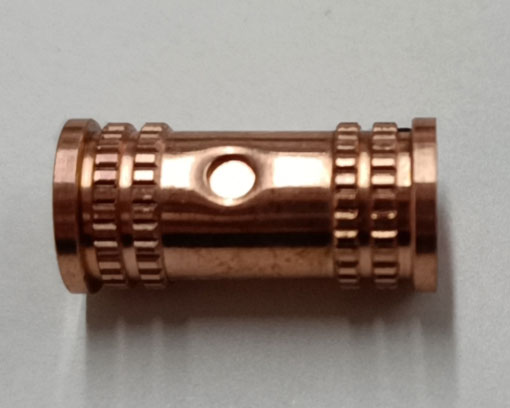
CNC machines have revolutionized the manufacturing industry, offering precision and efficiency in creating various parts and components. The CNC 3018 Pro is a popular choice among hobbyists and professionals alike, thanks to its versatility and ease of use. One essential component of any CNC machine is the copper nut, which plays a crucial role in ensuring smooth and accurate movement. In this blog post, we will explore how to create the perfect copper nut for your CNC 3018 Pro, ensuring optimal performance and longevity.
What is a Copper Nut?
A copper nut, also known as a lead screw nut or threaded nut, is a component that connects the lead screw to the moving parts of a CNC machine. It is responsible for converting the rotational motion of the lead screw into linear motion, allowing the machine to achieve precise positioning and movement. Copper nuts are often preferred due to their excellent wear resistance, low friction, and self-lubricating properties.
Why is the Copper Nut Important for CNC 3018 Pro?
The quality and performance of a copper nut can significantly impact the accuracy and overall performance of your CNC 3018 Pro. A well-designed and properly functioning copper nut will ensure smooth and precise movement, reducing the risk of errors and improving the quality of your finished products. Additionally, a high-quality copper nut can extend the lifespan of your CNC machine by reducing wear and tear on the lead screw and other components.
Steps to Create the Perfect Copper Nut for Your CNC 3018 Pro
#1. Select the Right Material
While copper is the most common material used for CNC nuts, other materials such as brass or bronze may also be suitable. Ensure that the material you choose has low friction, high wear resistance, and self-lubricating properties. It's essential to research and select the best material for your specific application and requirements.
#2. Determine the Proper Dimensions
The dimensions of your copper nut will depend on the lead screw and CNC machine specifications. You'll need to consider factors such as the lead screw diameter, thread pitch, and overall length of the nut. Consult your CNC 3018 Pro manual or manufacturer's specifications to determine the appropriate dimensions for your copper nut.
#3. Design the Copper Nut
Using CAD software, design the copper nut according to the dimensions and specifications you've determined. Ensure that the nut's internal thread profile matches the lead screw's thread profile for optimal performance. Additionally, consider incorporating features such as flanges or anti-backlash mechanisms to improve the nut's performance and reduce wear.
#4. Manufacture the Copper Nut
Once you've designed the copper nut, you can either manufacture it yourself using a CNC machine or outsource the production to a professional machining service. Ensure that the manufacturing process is precise and accurate, as any errors or inconsistencies in the nut's dimensions can negatively impact its performance.
#5. Test and Install the Copper Nut
After manufacturing the copper nut, test it by threading it onto the lead screw and checking for smooth and precise movement. Ensure that there is minimal backlash and that the nut fits securely on the lead screw. Once you're satisfied with the performance of the copper nut, install it on your CNC 3018 Pro according to the manufacturer's instructions.
Conclusion
Creating the perfect copper nut for your CNC 3018 Pro is essential for ensuring optimal performance and longevity. By selecting the right material, determining the proper dimensions, designing the nut using CAD software, and manufacturing it with precision, you can significantly improve the accuracy and efficiency of your CNC machine. Don't underestimate the importance of this small but crucial component иC invest the time and effort to create a high-quality copper nut that will serve you well for years to come.


