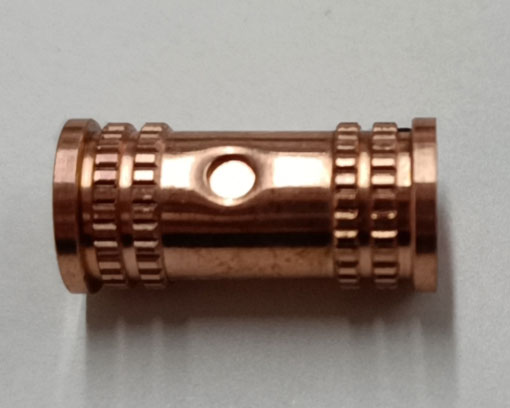
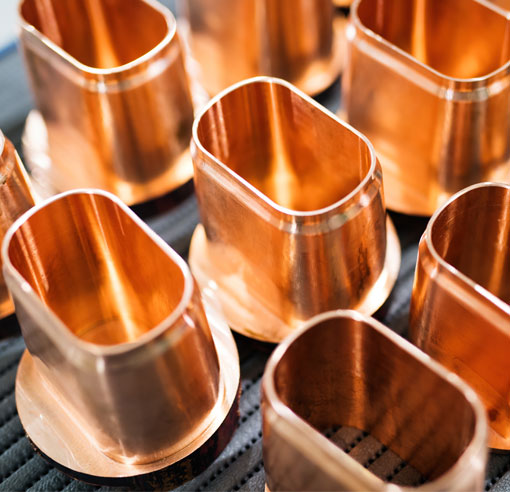
Copper is a versatile and widely used material in various industries due to its excellent electrical conductivity, corrosion resistance, and malleability. Cutting copper on a CNC router can be a challenging task, especially when it comes to achieving high precision and efficiency. In this blog post, we will discuss the essential tips and techniques to help you master cutting copper on a CNC router and achieve the best results.
Choosing the Right CNC Router and Tools
Selecting the right CNC router and cutting tools is crucial for achieving precise and efficient copper cutting. Here are some factors to consider:
1. CNC Router Size and Power: Choose a CNC router with sufficient power and size to handle the thickness and dimensions of the copper sheets you will be working with.
2. Spindle: Opt for a high-speed spindle, preferably with variable speed control, to achieve clean and accurate cuts.
3. End Mills: Use carbide end mills specifically designed for cutting non-ferrous metals like copper. These end mills have a higher number of flutes and a larger helix angle, which helps to evacuate chips effectively and prevent material buildup.
4. Coolant System: Copper generates heat during the cutting process, which can cause tool wear and reduce the quality of your cuts. A coolant system can help to dissipate heat and prolong tool life.
Preparing the Copper Material
Proper material preparation is essential for achieving clean and accurate cuts. Follow these steps to prepare your copper sheets:
1. Clean the Surface: Remove any dirt, grease, or oxidation from the copper surface using a suitable cleaning solution.
2. Secure the Material: Use clamps or a vacuum table to hold the copper sheet firmly in place on the CNC router bed. Make sure the material is flat and level to prevent uneven cuts.
3. Apply Masking: If you plan to engrave or cut intricate designs, apply a masking material, such as vinyl or paper, to the copper surface. This will help to protect the surface from scratches and reduce the risk of burring.
Setting Up the CNC Router
Before starting the cutting process, it's essential to set up the CNC router correctly. Follow these steps:
1. Load the Design: Import your design file into the CNC router software and set the desired cutting parameters, such as depth, speed, and feed rate.
2. Set the Zero Point: Establish the zero point on your material by moving the end mill to the desired starting position and setting the X, Y, and Z axes to zero.
3. Test Run: Perform a test run without the spindle running to ensure the CNC router follows the correct cutting path and to identify any potential issues.
Cutting the Copper
With your CNC router and material prepared, it's time to start cutting the copper. Keep these tips in mind:
1. Start Slowly: Begin the cutting process at a slower speed and gradually increase it as you gain confidence and experience.
2. Monitor Tool Wear: Regularly inspect your end mill for signs of wear or damage. Replace it as necessary to maintain cutting efficiency and accuracy.
3. Use Coolant: Apply coolant during the cutting process to reduce heat buildup and prolong tool life.
4. Inspect the Cuts: Periodically pause the cutting process to inspect the quality of your cuts. Adjust the cutting parameters if necessary to achieve the desired results.
By following these guidelines and tips, you can successfully cut copper on a CNC router with precision and efficiency. With practice and experience, you'll be able to create intricate designs and high-quality copper components for various applications.


