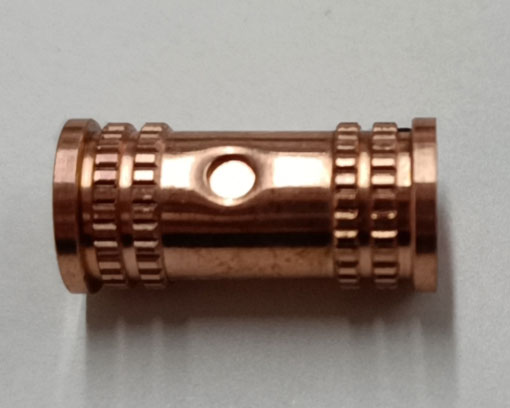
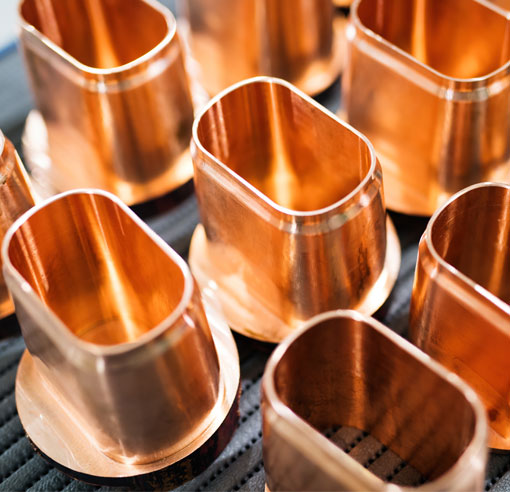
Copper engraving has been a popular art form for centuries, but the advent of CNC (Computer Numerical Control) technology has taken this craft to a whole new level. With CNC machines, artists and craftsmen can create intricate designs and patterns on copper with incredible precision and speed. In this blog post, we will explore the world of CNC copper engraving, sharing tips, tricks, and techniques to help you master this unique art form.
Choosing the Right CNC Machine for Copper Engraving
Before diving into the actual process of engraving, it's important to choose the right CNC machine for the job. There are various types of CNC machines available, including routers, mills, and lathes. For copper engraving, a CNC router or mill is typically the best choice, as these machines offer the precision and control needed for detailed work.
When selecting a CNC machine, consider factors such as:
Size: Choose a machine with a work area large enough to accommodate your copper pieces.
Spindle speed: Faster spindle speeds allow for finer detail in your engravings.
Software compatibility: Ensure that the machine's control software is compatible with your preferred design software.
Designing Your Copper Engraving
Once you have your CNC machine set up and ready to go, it's time to create your design. Most CNC machines work with vector-based design software, such as Adobe Illustrator or Inkscape. These programs allow you to create intricate designs that can be easily scaled and adjusted for engraving.
When designing your copper engraving, keep the following tips in mind:
Keep it simple: While CNC machines can handle complex designs, it's best to start with simpler patterns as you learn the ins and outs of the process.
Use clean, sharp lines: This will ensure a crisp, clean engraving.
Consider the material: Copper is a soft metal, so it's important to design your engraving with the material's properties in mind. Avoid extremely thin lines or delicate patterns that may not hold up well in copper.
Preparing Your Copper for Engraving
Before you can begin engraving, you'll need to prepare your copper piece. This includes:
Cleaning the surface: Use a soft cloth and rubbing alcohol to remove any dirt, grease, or fingerprints from the copper.
Securing the copper: Attach the copper to your CNC machine's work area using clamps or double-sided tape, ensuring that it's flat and level.
Setting your zero point: Use your CNC machine's software to set the zero point, or the starting point for your engraving.
Engraving Your Copper Design
With your design complete and your copper prepared, it's time to start engraving! Follow these steps for a successful engraving:
1. Load your design into your CNC machine's control software.
2. Choose the appropriate engraving bit for your design. For copper, a carbide or diamond-tipped bit is recommended.
3. Set the spindle speed and feed rate according to your machine's specifications and the intricacy of your design.
4. Begin the engraving process, monitoring the machine closely to ensure that everything runs smoothly.
5. Once the engraving is complete, carefully remove the copper from the machine and clean off any debris.
Finishing and Polishing Your Copper Engraving
After your engraving is complete, you'll want to give it a final polish to bring out the beauty of the copper. Use a soft cloth and a gentle metal polish to remove any remaining debris and bring out the shine in your engraved design.
With the right tools, software, and techniques, CNC copper engraving can be a rewarding and fulfilling art form. By following these tips and tricks, you'll be well on your way to creating stunning copper engravings that are sure to impress.


