Every homeowner knows the importance of having a functional and efficient washing machine. It's a crucial appliance that makes our lives easier and keeps our clothes clean and fresh. However, one aspect that is often overlooked when it comes to washing machines is the valve copper compression. In this comprehensive guide, we will discuss the importance of washing machine valve copper compression, its benefits, and how to properly install and maintain it to ensure a leak-free laundry experience.
What is Washing Machine Valve Copper Compression?
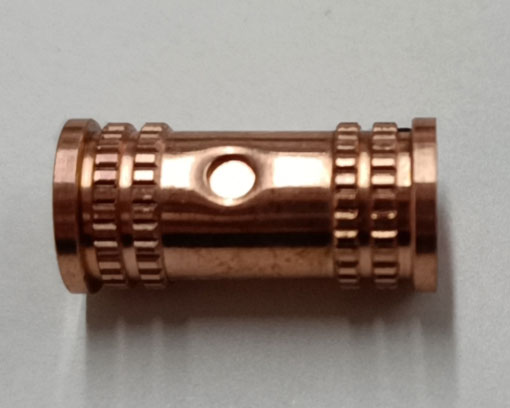
Washing machine valve copper compression refers to the connection between the water supply pipes and the washing machine hoses. These valves regulate the flow of water into the washing machine and are typically made of brass or copper. The compression fitting, on the other hand, is a type of connection that seals the joint between the valve and the pipe, preventing any leaks.
The Benefits of Washing Machine Valve Copper Compression
There are several advantages to using copper compression fittings for your washing machine valves. Some of these benefits include:
1. Durability: Copper is known for its strength and resistance to corrosion, making it a reliable choice for plumbing connections. This means that copper compression fittings are less likely to wear out or break, ensuring a long-lasting connection.
2. Leak Prevention: The compression fitting creates a tight seal between the valve and the pipe, preventing any water leaks that could cause damage to your home or increase your water bill.
3. Easy Installation: Copper compression fittings are relatively easy to install, even for those without much plumbing experience. This makes it a convenient option for homeowners looking to replace or upgrade their washing machine valves.
4. Versatility: Copper compression fittings are compatible with a wide range of pipe materials, including copper, PEX, and CPVC. This makes them a versatile choice for various plumbing applications.
How to Install Washing Machine Valve Copper Compression
Installing a washing machine valve copper compression is a relatively straightforward process that can be done with a few basic tools. Here's a step-by-step guide on how to do it:
1. Turn off the water supply: Before starting any plumbing work, always turn off the water supply to your washing machine. This can typically be done by turning the shut-off valve clockwise.
2. Remove the old valve: If you're replacing an existing valve, use a wrench to remove the old valve from the pipe. Be prepared for some water to spill out during this process.
3. Prepare the pipe: Clean the end of the pipe with a pipe brush or sandpaper to ensure a smooth surface for the compression fitting.
4. Slide the nut and compression ring onto the pipe: Before attaching the valve, slide the compression nut and ring onto the pipe. The nut should be threaded side facing out, and the ring should sit flush against the end of the pipe.
5. Attach the valve: Place the valve onto the pipe, ensuring that the compression ring is seated properly in the valve's inlet. Tighten the compression nut onto the valve using a wrench, being careful not to overtighten.
6. Connect the washing machine hose: Attach the washing machine hose to the valve, ensuring a snug fit. Tighten the hose connection with a wrench if necessary.
7. Turn on the water supply: Once the valve is securely installed, turn the water supply back on and check for any leaks. If there are no leaks, your washing machine valve copper compression installation is complete!
Maintaining Your Washing Machine Valve Copper Compression
To ensure the longevity of your washing machine valve copper compression, it's essential to perform regular maintenance. Here are a few tips to keep your valve in top shape:
1. Inspect for leaks: Regularly check for any signs of water leaks around the valve and hose connections. If you notice any leaks, tighten the connections with a wrench or consult a professional plumber if necessary.
2. Replace worn parts: Over time, the compression ring and nut may wear out and require replacement. If you notice any signs of wear or damage, replace these parts to maintain a secure and leak-free connection.
3. Clean the valve: Sediment and debris can build up in the valve, affecting its performance. Periodically


