Introduction
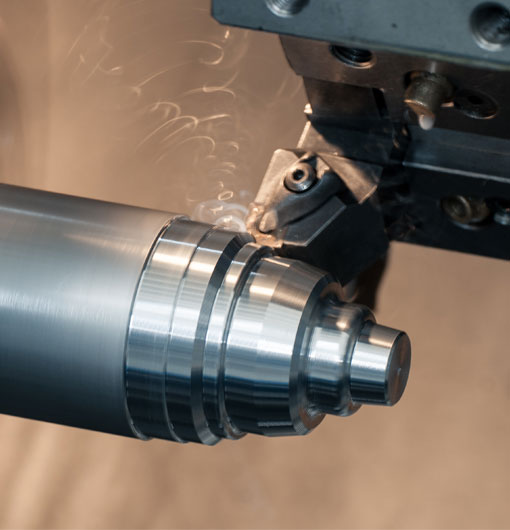
Computer Numerical Control (CNC) turning has become an essential method in modern manufacturing, allowing businesses to create intricate designs and rapidly produce high-quality parts. To successfully implement CNC turning in your production process, a detailed part drawing is vital. In this blog post, we will discuss tips and best practices for creating effective CNC turning part drawings that will ensure accurate and efficient part production.
Importance of CNC Turning Part Drawings
CNC turning part drawings provide a clear representation of the desired end product, including dimensions, tolerances, and any special requirements. These drawings are crucial for accurate fabrication and for avoiding potential errors during the manufacturing process. They serve as a road map for the machinists and engineers, ensuring that each part is created to the precise specifications required for the specific application.
Creating a Clear and Detailed Drawing
1. Standard Format: To avoid confusion and make communication clearer between design engineers and machinists, it is essential to create your drawings using a standard format such as American National Standards Institute (ANSI) or International Organization for Standardization (ISO). This will help ensure your drawings are easily understood, minimizing the risk of errors during the production process.
2. Scale and Units: Make sure you specify the scale of the drawing and the units that are being used for measurements (e.g., millimeters or inches). Providing clarity in your scaling and annotation will help avoid misunderstandings and costly mistakes.
3. Dimensions and Tolerances: Clearly indicate all critical dimensions on your part drawings. Specifying precise tolerances will ensure the parts fit and function as intended. Use geometric dimensioning and tolerancing (GD\&T) to define the desired form, size, and fit for each part.
4. Section Views: Include section views of your part to provide a clearer understanding of complex shapes and relationships between different features. This will help the machinist visualize the part and understand any potential production challenges.
5. Material and Finish: Be specific about your material requirements, and make sure to include any necessary information regarding surface finishes or treatments. This information will help the machinist accurately machine the part and apply the appropriate processes to achieve the desired results.
6. Reference Standards: If your industry requires adherence to specific standards or guidelines, include references to these within your drawing. This will ensure that the machinist can verify compliance with these standards during the production process.
7. Revision Control: To keep track of any changes made to the part design or drawing, implement a revision control system. This can consist of a simple revision block with a letter or number indicating the revision level. Make sure all changes are documented and communicated to the machinist to avoid confusion during production.
Common Mistakes to Avoid
1. Over-engineering: Designing parts with unnecessary complexity or too tight tolerances can result in increased production costs and longer lead times. Strive for simplicity in your designs and only specify tight tolerances for critical features.
2. Missing dimensions: When creating a turning part drawing, ensure that all necessary dimensions are provided. Failing to do so can result in errors during production and delays in the manufacturing process.
3. Ambiguity: Unclear or ambiguous notation on a drawing can lead to confusion and errors. Ensure that all information is presented clearly and use the correct symbols and notation for tolerances and dimensions.
4. Unnecessary detail: While it's essential to provide sufficient information for the machinist, avoid cluttering your drawing with unnecessary details that may create confusion. Focus on what is most important for the manufacturing process.
Maximizing Efficiency in CNC Turning
Careful planning and consideration of the production process can help reduce costs and improve efficiency in CNC turning. Some tips for optimizing your turning process include:
1. Material Selection: Choose materials that are suitable for the intended application and can be easily machined. This will reduce machining time and improve efficiency.
2. Tool Selection: Select the right cutting tools for the specific materials being used and the desired finishes. Using appropriate tools will result in better surface finishes and longer tool life.
3. Programming: Invest time in developing efficient CNC programs that optimize tool paths and minimize wasted movements.
4. Fixturing: Design your part with efficient fixturing in mind to minimize setup time and machining complications.
5. Batch Production: If possible, produce multiple parts simultaneously or in small batches to reduce idle time and improve production efficiency.
Creating an effective CNC turning part drawing is a crucial step in the manufacturing process. Utilizing best practices and avoiding common mistakes will ensure your parts are produced accurately and efficiently. By carefully considering all aspects of the production process and communicating your design intent clearly, you can optimize manufacturing and drive success in your CNC turning projects.
cnc turning part drawing


