Picture this – literally! You have a treasured photograph and you wish you could do more with it than just post it on Instagram or keep it in an album. What if there was a way to turn that cherished image into a magnificent piece of art? Well, you are in luck! This post will guide you on how you can transform your favourite pictures into CNC carvings.
Starting Off: The Basics
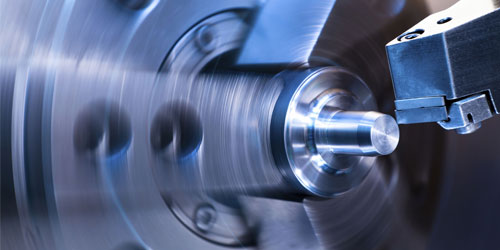
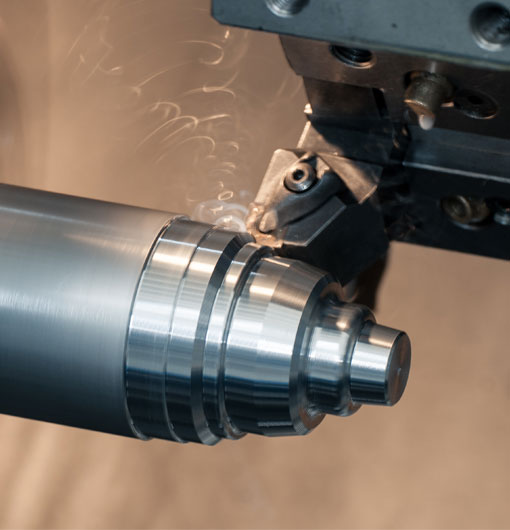
A CNC or Computer Numerically Controlled machine is a gamechanger in the art industry, giving artists the ability to enhance their work with computer-guided precision. One common use of a CNC machine is in carving a two or three-dimensional object from materials such as wood, metal, stone or plastic. But have you thought about using this versatile machine to carve an image from a photograph?
Choosing the Photo
To begin with, choose a photo that you would love to immortalize with a carving. The choice of photo is essential because it influences the final outcome of the carving. A clear, high-resolution image with good contrast will give the best result. Remember, the detail in your photograph will translate to the detail in your carving.
Prep your Image
Once you have chosen the final image, it's time to do some touch-ups. Use any photo editing software such as Adobe Photoshop or Illustrator to adjust the contrast, sharpness and brightness to make the picture CNC carving-ready.
Generate G-Code File
The next step is converting the picture or image into a G-code file. This file is the actual instruction set that your CNC machine will use to carve the picture. There are numerous software options available to help you generate G-code files, such as Inkscape, ArtCAM, or Fusion 360.
In most cases, you will need to follow the steps below:
1. Open the chosen software and import your picture.
2. The software will convert the image into a series of vector lines, which can then be cut by the CNC machine.
3. Check the generated vectors carefully and adjust as necessary to ensure a faithful representation of the original picture.
4. Finally, save the vectors as a G-code file.
Set Up Your CNC Machine
After obtaining the Gcode file, it's time to set up your CNC machine. Load the G-code file into your CNC machine software. Adjust the parameters as necessary.
Start Carving
Now the exciting part begins: Carving your image. Mount your material, and ensure that it's secured. Double-check everything before hitting the 'Start' button to begin the carving.
Monitoring the process is essential to avoid mistakes or mishaps. If anything seems off, you can always pause the operation and troubleshoot.
After Carving Tips
Upon completion of the carving, carefully remove the pieces from the machine. There might be rough edges that will need to be sanded down. Based on your personal preference, you might choose to stain, paint or varnish your carving.
Ending Note
Turning a picture into a CNC carving may seem like a daunting task. However, with the right guidance, some practice and a bit of patience, you will be able to create beautiful pieces of art that will be cherished for a lifetime.
Who said pictures only belong in photo albums? Go ahead and let that treasured memory take a tangible form. Transform it into a CNC carving today, and let your creativity shine!
how to turn a picture into a cnc carving


