Sheet metal fabrication is an essential skill for any DIY enthusiast, whether you're a hobbyist or a professional. In this comprehensive guide, we'll cover everything you need to know about working with sheet metal, including the tools, techniques, and safety precautions you'll need to master this versatile material. With over 1000 words of expert advice, you'll be well on your way to creating your own custom sheet metal projects in no time!
Getting Started: Choosing the Right Sheet Metal
Before you can begin fabricating sheet metal, you'll need to choose the right material for your project. Sheet metal comes in a variety of thicknesses, known as gauges, and is made from different metals like steel, aluminum, and copper. Each material has its own unique properties, so it's essential to choose the right one for your specific needs.
Steel is the most common type of sheet metal, known for its durability and strength. It's perfect for heavy-duty projects like automotive panels and structural components. Aluminum is lighter and more malleable than steel, making it ideal for intricate designs and decorative elements. Copper offers excellent conductivity and corrosion resistance, making it perfect for electrical projects and outdoor installations.
When choosing the right gauge, consider the strength and flexibility you'll need for your project. Thicker gauges provide more strength but are harder to bend and shape, while thinner gauges offer more flexibility but may be more prone to damage.
Essential Tools for Sheet Metal Fabrication
To work with sheet metal effectively, you'll need a few essential tools:
1. Metal shears: These are used to cut sheet metal and come in various types, including manual, electric, and pneumatic. Choose the right one based on your needs and budget.
2. Tin snips: These hand tools are perfect for making smaller, more precise cuts in sheet metal.
3. Hammer and dolly: These tools are used to shape and form sheet metal, with the hammer used to strike the metal and the dolly providing a solid surface to work against.
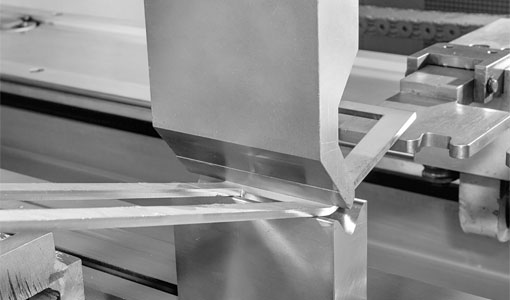
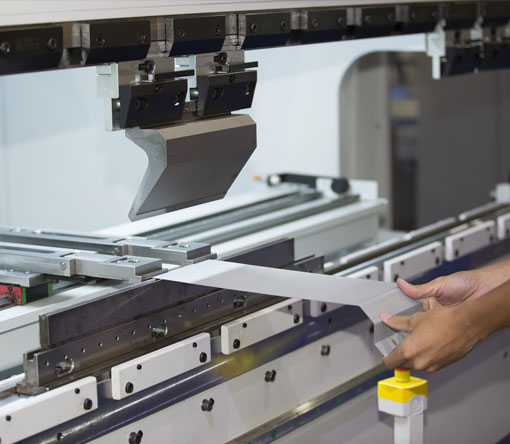
4. Bending brake: This tool is used to create clean, precise bends in sheet metal. They come in various sizes and styles, so choose one that suits your needs.
5. Welding equipment: If you plan on joining sheet metal pieces together, you'll need a welding setup. This can include a MIG (Metal Inert Gas) welder, TIG (Tungsten Inert Gas) welder, or a simple oxy-acetylene torch.
6. Safety gear: Working with sheet metal can be dangerous, so always wear protective gear like gloves, safety glasses, and ear protection.
Techniques for Cutting, Bending, and Shaping Sheet Metal
Once you've chosen your material and gathered your tools, it's time to start working with sheet metal. Here are some essential techniques for cutting, bending, and shaping sheet metal:
Cutting
Straight cuts: Use metal shears or tin snips to make straight cuts in sheet metal. Always cut along the metal's grain to prevent distortion and ensure a clean edge.
Curved cuts: To create curved cuts, use tin snips or a jigsaw with a metal cutting blade. Make sure to move slowly and steadily to avoid jagged edges.
Bending
Using a bending brake: Secure the sheet metal in the bending brake, aligning the bend line with the edge of the brake. Apply pressure to the handle to create a clean, precise bend.
Hand-bending: For smaller bends, you can use your hands or a pair of pliers to shape the metal. Be careful not to over-bend or kink the material.
Shaping
Hammer and dolly: Place the sheet metal on the dolly and use the hammer to shape it. Start at the center of the area you want to shape and work your way outwards, using smooth, even blows.
Planishing: This technique involves using a planishing hammer and a rounded surface, like an anvil or a metal stake, to smooth out any imperfections in the metal.
Joining Sheet Metal Pieces
There are several methods for joining sheet metal pieces, including welding, riveting, and using adhesives:
Welding: MIG and TIG welding are popular methods for joining sheet metal. Clean the edges of the pieces to be joined and clamp them together. Use the appropriate welding technique to create a strong, clean joint.
Riveting: Drill holes in the sheet metal pieces and insert rivets to join them together. This method is suitable for projects where a visible joint is acceptable.
Adhesives: For a less visible joint, use a strong adhesive designed for metal-to-metal bonding. Follow the manufacturer's instructions for best results.
Tips for Success and Safety
Finally, here are some tips to help you succeed in your sheet metal fabrication projects:
Practice: Sheet metal fabrication takes time and practice to master. Start with simple projects and work your way up to more complex designs.
Measure twice, cut once: Always double-check your measurements before cutting sheet metal to avoid costly mistakes.
Clean your work area: Keep your workspace clean and organized to prevent accidents and ensure a smooth workflow.
Stay safe: Always wear appropriate safety gear and follow proper safety procedures when working with sheet metal.
With this comprehensive guide in hand, you're now ready to tackle your own sheet metal fabrication projects. Remember, practice makes perfect, so don't be afraid to try new techniques and learn from your mistakes. Happy fabricating!
homemade sheet metal fabrication


