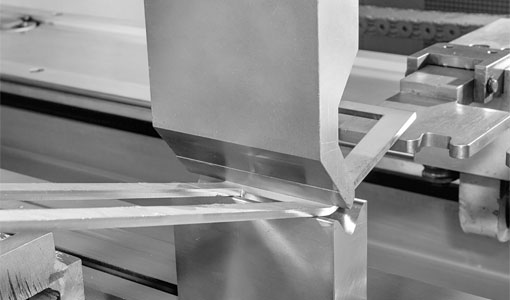
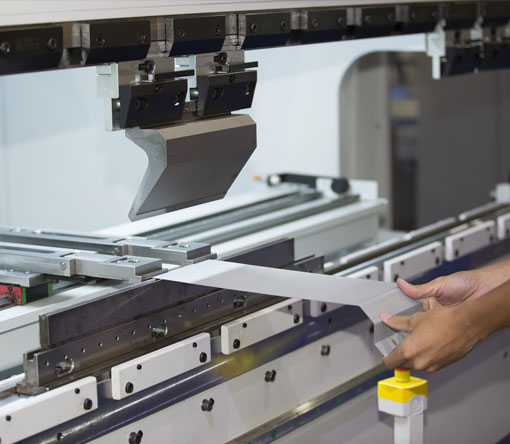
Sheet metal fabrication is an essential skill for any DIY enthusiast who wants to create custom projects or repair damaged items. This process involves cutting, bending, and shaping metal sheets to create a desired shape or object. In this comprehensive guide, we'll walk you through the basics of DIY sheet metal fabrication, including the tools you'll need, safety precautions, and a step-by-step tutorial to help you get started. Let's dive in!
Essential Tools for Sheet Metal Fabrication
Before you start your DIY sheet metal fabrication project, you'll need to gather the necessary tools. Here's a list of the most commonly used tools in sheet metal fabrication:
1. Metal shears- These are essential for cutting sheet metal. There are different types of shears, such as manual shears, electric shears, and pneumatic shears. Choose the one that best suits your needs and budget.
2. Hammer and dolly- A hammer and dolly are used to shape and smooth out the metal after cutting. A dolly is a small anvil-like tool with various curved surfaces to match the shape you want to achieve.
3. Bending brake- This tool is used to bend sheet metal at precise angles. There are various types of bending brakes, including benchtop and floor-mounted models.
4. Vise- A sturdy vise is essential for holding sheet metal in place while you work on it. Choose a vise with wide jaws to accommodate larger sheets of metal.
5. Files and sandpaper- Files are used to smooth out rough edges and remove burrs, while sandpaper can be used for finer finishing work.
6. Safety equipment- Always wear safety goggles, gloves, and ear protection when working with sheet metal, as it can have sharp edges and create loud noises.
Safety Precautions for Sheet Metal Fabrication
Working with sheet metal can be dangerous if you don't take the proper precautions. Here are some safety tips to keep in mind:
Always wear appropriate safety gear, including gloves, safety goggles, and ear protection.
Make sure your work area is clean and free of clutter to prevent accidents.
Use the right tool for the job and ensure they are in good working condition.
Keep your hands away from the cutting edge of the tools.
Securely clamp the sheet metal in place before cutting or bending to prevent it from moving.
Step-by-Step Guide to DIY Sheet Metal Fabrication
Now that you're familiar with the tools and safety precautions, let's dive into the step-by-step process of sheet metal fabrication.
Step 1: Plan Your Project
Before you start cutting and bending metal, it's essential to plan your project. Sketch out the design you want to create, including dimensions and any specific shapes or angles. This will help you determine how much sheet metal you'll need and guide you through the fabrication process.
Step 2: Measure and Mark the Sheet Metal
Using a measuring tape and a straight edge, measure and mark the sheet metal according to your project's dimensions. Use a scribe or a sharp-tipped marker to create clear, precise lines that will guide your cutting.
Step 3: Cut the Sheet Metal
Using your chosen metal shears, carefully cut along the marked lines. Remember to wear safety gloves and goggles to protect yourself from sharp edges and flying debris. Take your time and make sure to follow your markings accurately.
Step 4: File and Smooth the Edges
After cutting, use a file to remove any burrs or rough edges from the sheet metal. This will help prevent injuries and ensure a smooth, clean finish for your project. You can also use sandpaper for finer finishing work.
Step 5: Bend the Sheet Metal
Using a bending brake or a vise, carefully bend the sheet metal along the desired angles. Make sure to clamp the metal securely in place before bending to ensure accurate and consistent results.
Step 6: Shape and Form the Metal
If your project requires more complex shapes, use a hammer and dolly to form the metal into the desired shape. Place the metal on the dolly and gently tap it with the hammer, working slowly and methodically to create a smooth, even surface.
Step 7: Assemble and Finish Your Project
Once all the pieces have been cut, bent, and shaped, it's time to assemble your project. Use screws, rivets, or welding to join the pieces together, depending on the materials and design. Finally, apply any necessary finishes, such as paint or protective coatings, to complete your DIY sheet metal fabrication project.
With these steps and tips in mind, you're now ready to tackle your own DIY sheet metal fabrication project. Remember to always prioritize safety and take your time to ensure accurate, high-quality results. Happy fabricating!
diy sheet metal fabrication


