In this blog post, we will provide you with a comprehensive guide on how to fabricate a sloped bezel using sheet metal. This step-by-step tutorial will cover everything you need to know, from selecting the right materials to the final assembly process. So, whether you're a seasoned metalworker or a beginner looking to learn a new skill, this guide is for you. Let's dive right in!
Materials and Tools Required
Before we begin, it's essential to gather all the necessary materials and tools. Here's a list of what you'll need:
Sheet metal (preferably 16-20 gauge)
Metal shears or tin snips
Metal file or deburring tool
Measuring tape or ruler
Marker or scribe
Straightedge or metal ruler
Hammer and anvil or metal brake
Welding equipment (MIG, TIG, or oxy-acetylene)
Safety gear (gloves, safety glasses, welding helmet)
Step 1: Design and Measurements
The first step in fabricating a sloped bezel with sheet metal is to create a design and take accurate measurements. Sketch out your desired bezel shape on paper, ensuring that the slope angle and overall dimensions meet your requirements. You can use a protractor or an angle finder to determine the slope angle accurately.
Once you have your design, measure the dimensions and transfer them to the sheet metal using a marker or scribe. Be sure to include any necessary allowances for bending and welding.
Step 2: Cutting the Sheet Metal
Next, use your metal shears or tin snips to carefully cut out the bezel shape from the sheet metal. Follow your marked lines as closely as possible, and remember that it's better to cut slightly outside the lines than inside, as you can always file down any excess material later.
After cutting out the shape, use a metal file or deburring tool to smooth any rough edges and ensure a clean, professional finish.
Step 3: Bending the Sheet Metal
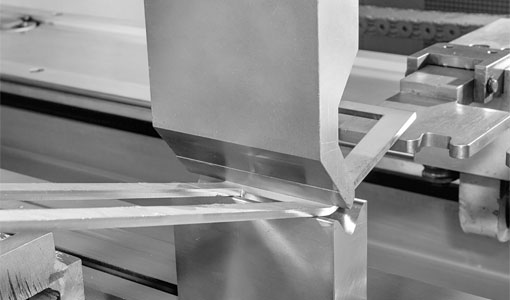
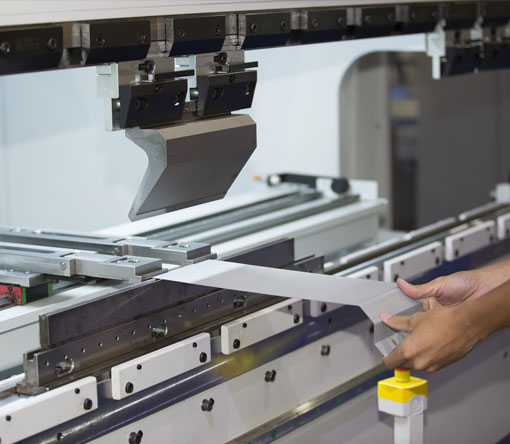
Now that your sheet metal is cut to size, it's time to bend it to create the sloped bezel shape. You can use a hammer and anvil or a metal brake for this process, depending on your preference and available tools.
Start by clamping the sheet metal to the anvil or brake along the bending line. Then, use your hammer or brake to carefully bend the metal to the desired angle. Make sure to bend the metal evenly along the entire length to ensure a consistent slope.
Step 4: Welding the Bezel
With your sheet metal bent to the correct angle, it's time to join the edges and create the finished bezel. Depending on your skill level and equipment, you can use MIG, TIG, or oxy-acetylene welding for this task.
First, ensure that the edges to be joined are clean and free of any debris or contaminants. Then, clamp the pieces together, ensuring that the joint is tight and properly aligned.
Next, put on your safety gear and set up your welding equipment according to the manufacturer's instructions. Begin welding the seam, taking care to maintain a consistent bead and avoid any gaps or excessive buildup.
Once the welding is complete, allow the bezel to cool and then use a wire brush or grinder to clean up the weld and create a smooth, finished appearance.
Step 5: Final Touches
With your sloped bezel now fully assembled, it's time for any final touches. You can use a metal file or grinder to smooth any rough edges, and then apply a coat of paint or clear coat to protect the metal and give it a polished look.
If desired, you can also add any additional features or embellishments, such as mounting holes or decorative elements, at this stage.
And there you have it – a complete guide on how to fabricate a sloped bezel with sheet metal. By following these steps, you can create a professional-looking, custom bezel for any project. Remember always to prioritize safety when working with metal and welding equipment, and don't be afraid to practice and refine your skills. Happy fabricating!
how to fabricate sloped bezel with sheet metal


