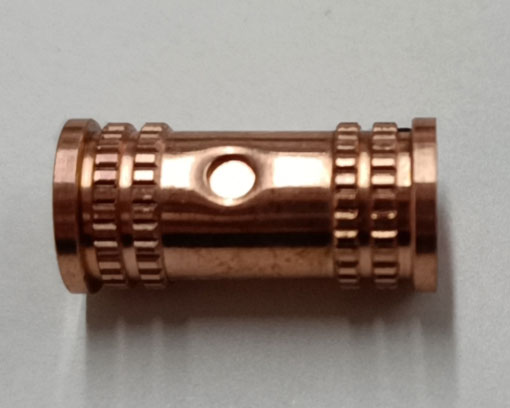
As a coffee lover, you know that a clean espresso machine is essential for brewing the perfect cup of coffee. One crucial part of the machine that often gets overlooked is the copper pipes. These pipes play a significant role in the overall performance of your espresso machine, and keeping them clean is essential for maintaining its efficiency and longevity. In this comprehensive guide, we will walk you through the process of cleaning the copper pipes in your espresso machine to ensure you continue to enjoy the best-tasting espresso.
Why is Cleaning Copper Pipes Important?
Copper pipes are known for their excellent heat conductivity, which is why they are commonly used in espresso machines. However, over time, these pipes can accumulate mineral deposits, dirt, and grime. This buildup can lead to reduced performance, poor-tasting coffee, and even damage to your espresso machine. Regular cleaning of the copper pipes can help prevent these issues and keep your machine running smoothly.
What You Will Need
Before you begin, gather the following tools and materials:
A wrench or adjustable spanner
A pipe cleaner or flexible brush
A soft cloth
A descaling solution or vinegar
Warm water
A container to catch any water or debris
Protective gloves and eyewear
Step-by-Step Guide to Cleaning Copper Pipes
Follow these steps to clean the copper pipes in your espresso machine:
1. Turn off and unplug the machine
Before you start, ensure that the machine is turned off and unplugged from the power source. This is important for your safety and to prevent any damage to the machine.
2. Remove the outer casing
Depending on your espresso machine's model, you may need to remove the outer casing to access the copper pipes. Consult your machine's manual for instructions on how to do this.
3. Locate the copper pipes
Once the outer casing is removed, locate the copper pipes within your espresso machine. They are typically found near the boiler or heat exchanger.
4. Disconnect the pipes
Using a wrench or adjustable spanner, carefully disconnect the copper pipes from the boiler and other components. Be sure to place a container underneath to catch any water or debris that may come out of the pipes during this process.
5. Clean the pipes
Once the pipes are disconnected, use a pipe cleaner or flexible brush to clean the inside of the pipes. If the pipes are heavily soiled, you may need to soak them in a descaling solution or vinegar for a few hours to loosen the buildup. After soaking, use the pipe cleaner or brush to remove any remaining debris.
6. Rinse the pipes
After cleaning the pipes, rinse them thoroughly with warm water to remove any remaining descaling solution or vinegar. Make sure to flush out any debris that may have been dislodged during the cleaning process.
7. Inspect the pipes
Inspect the pipes for any signs of damage, such as cracks or corrosion. If you notice any issues, it may be time to replace the pipes to prevent further damage to your espresso machine.
8. Reconnect the pipes
Carefully reconnect the copper pipes to the boiler and other components, ensuring that all connections are secure. Be careful not to overtighten the connections, as this can cause damage to the pipes.
9. Reassemble the machine
Replace the outer casing of your espresso machine and ensure that all components are securely in place.
10. Test the machine
Plug the machine back into the power source and turn it on. Run a few cycles of water through the machine to ensure that there are no leaks and that the pipes are functioning correctly.
Conclusion
Cleaning the copper pipes in your espresso machine is an essential part of maintaining its performance and ensuring that you continue to enjoy delicious coffee. By following this comprehensive guide, you can keep your espresso machine in top condition and extend its lifespan. Remember to clean the copper pipes regularly to prevent buildup and maintain the quality of your espresso. Happy brewing!


