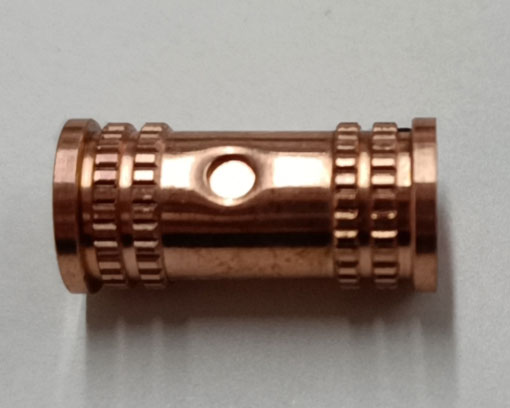
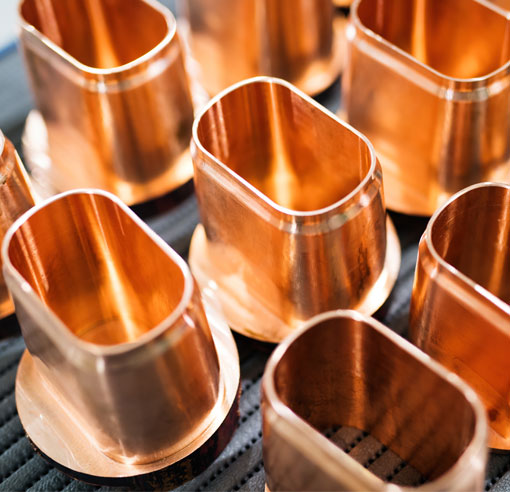
Copper is a popular material in various industries due to its excellent electrical and thermal conductivity, corrosion resistance, and malleability. However, when it comes to CNC machining, copper can be challenging to work with due to its softness and tendency to produce long, stringy chips. In this blog post, we'll explore the best practices for achieving optimal copper cutting speeds for CNC and share some tips and techniques to improve your machining process.
Understanding Copper Alloys
Before diving into copper cutting speeds, it's essential to understand that copper comes in various alloys with different properties. The most common copper alloys used in CNC machining are:
Pure Copper (C11000)
Brass (C26000, C36000)
Bronze (C51000, C63000)
Each alloy has its unique characteristics, which can impact the cutting speed and overall machining process. For example, brass is easier to machine than pure copper, while bronze tends to be more challenging due to its higher strength and hardness.
Determining the Right Copper Cutting Speed
The cutting speed for copper and its alloys depends on several factors, including the type of alloy, tooling, and coolant used. Here are some general guidelines for determining the appropriate cutting speed:
Pure Copper (C11000):60-100 meters per minute (200-330 feet per minute)
Brass (C26000, C36000):100-200 meters per minute (330-660 feet per minute)
Bronze (C51000, C63000):40-80 meters per minute (130-260 feet per minute)
Keep in mind that these are general guidelines and may need to be adjusted depending on your specific machining setup and conditions.
Tips and Techniques for Optimizing Copper Cutting Speeds
1. Choose the right tooling:High-speed steel (HSS) or carbide tools are recommended for machining copper and its alloys. Carbide tools generally provide better performance and longer tool life than HSS, but they can be more expensive.
2. Opt for sharp cutting edges:Sharp cutting edges help minimize the formation of long, stringy chips and reduce the risk of built-up edge (BUE) on the cutting tool. This can lead to a smoother machining process and improved surface finish.
3. Use proper coolant:Copper and its alloys can generate a lot of heat during the machining process, so it's essential to use proper coolant to dissipate heat and prevent tool wear. A water-soluble coolant is recommended for most copper machining applications.
4. Employ climb milling:Climb milling can help reduce the formation of long, stringy chips and improve the overall machining process. This technique involves feeding the workpiece into the cutting tool in the same direction as the tool's rotation.
5. Adjust feed rates and depths of cut:Experiment with different feed rates and depths of cut to find the optimal settings for your specific machining setup. A slower feed rate and shallower depth of cut can help reduce the risk of tool breakage and improve surface finish.
By following these tips and techniques, you can optimize your copper cutting speeds for CNC and achieve better results in your machining process. Remember that each machining setup is unique, so always be prepared to make adjustments as needed to find the best combination of cutting speed, tooling, and techniques for your specific application.


