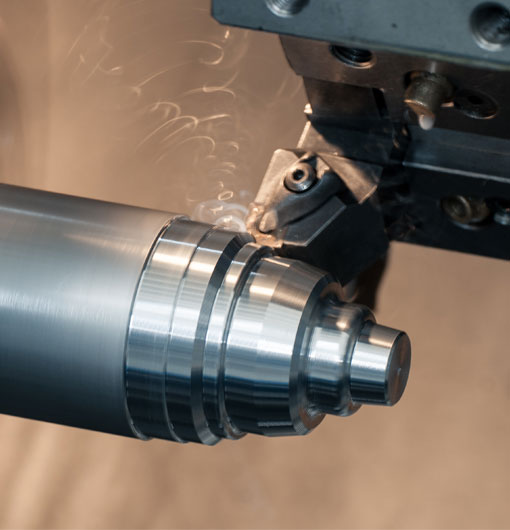
Turner*s cube, a fascinating piece of art, has long been a symbol of a machinist's skill. Combining technical precision and artistic flair, this classic object is typically constructed using manual labour on a lathe. But in the modern era of digital fabrication, bringing a CNC (computer numerical control) machine into the equation can take your Turner's cube to the next level.
So, how can you effectively create a Turner*s Cube using a CNC machine? With a blend of precision, programming knowledge, and a dash of creativity, you'll be able to craft your very own machinist masterpiece. This blog post takes a deep dive into creating the perfect Turner's cube with a CNC machining process.
Understanding The Concept of Turner*s Cube
A Turner's cube is a beautiful machined object that is composed of a cube nested within several other cubes. It is a timeless classic that tests your technical and artistic skills as a machinist. Traditionally, it is created using a lathe, but as machining evolves, CNC machines are becoming the tool of choice due to their accuracy, repeatability, and reduced manual labour.
Choosing the Perfect Material
The choices for your cube material can range from brass, steel, to aluminium. Whichever material you choose, ensure it is strong, durable and able to withstand the machining process. Certainly, cube selection greatly influences your final Turner's Cube appearance.
CNC Machine Setup
Setting up your CNC machine is crucial to creating your cube. This includes programming your chosen design into the machine. Many machinists prefer CAD (computer-aided design) or CAM (computer-aided manufacturing) software for programming due to their user-friendliness and precision.
Machining Mindset: Accuracy and Patience
Crafting a Turner's cube requires a blend of precision and patience. Every cutting location must be accurate. The squareness of the block, the straightness of the cut, the sharpness of the cutting tool – all these factors influence the accuracy of your finished Turner's cube. Always remember, meticulousness over speed. It's better to have a perfect slow-made cube than a flawed quick-made one.
The Cutting Process
Describing the complexity of the cutting process can get quite technical. In simplest terms, you start by cutting the largest cube first, working your way inwards to the smaller cubes. The basic operational commands include drilling, inner square machining, deep hole drilling, and inwards layer-by-layer cutting. These commands might seem overwhelming, but after a bit of practice, you'll move through them like a pro.
Post Processing & Finishing Touches
After your Turner's cube is cut and shaped, it*s time to move onto post-processing. This phase includes cleaning, sanding, and polishing your cube to achieve an appealing and professional finish.
When it comes to Turner's Cube creation, utilizing a CNC machine modernizes an age-old machining challenge. Through a harmonious fusion of technology, creativity, and patience, machinists can create intricate Turner's Cubes with incredible precision and efficiency.
Whether you're a seasoned machinist or a creative enthusiast who loves to tinker, remember that the journey of crafting a Turner's Cube is a valuable learning experience. So, roll up your sleeves, perfect your CNC machine setup, and embrace the rewarding journey of crafting your very own Turner's Cube.
turner's cube cnc


